
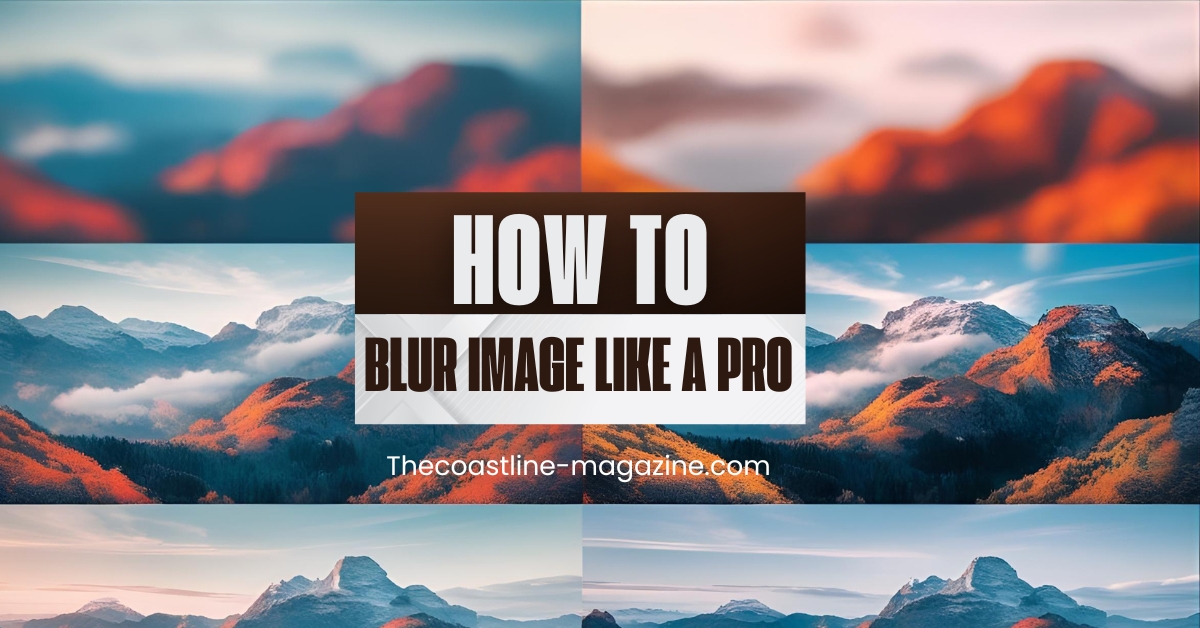
As the saying goes, Visuals speak a thousand words, with just a touch of blur, a photo will have a totally different feel about it. It may be because you need to put emphasis on something, to add some of that artistic obscurity or maybe you just want to tidy this mess of a background, in which case, how to blur image is one of the easiest and yet most effective photographic editing magic tricks you can learn.
And the best thing is that you do not have to be a Photoshop guru. Whether you want to use a mobile app or web editor or your desktop computer, the blur effect is just finger-length distance. The guide will take you through step-by-step finding out how and when to use blur tool as a visual storyteller.
Why Blur an Image?
Before diving into the how, let’s talk about the why. What does blur actually do?
Blurring is the process of softening an image or a specific part of an image by reducing its detail. This can be done for several reasons:
- Focus the viewer’s attention: Want someone to notice the smiling face in your vacation photo and not the strangers in the background? Blur the background.
- Create depth: Mimic the look of professional cameras by blurring the background and keeping the subject in sharp focus.
- Add emotion or mood: A dreamy, softened blur can add a touch of nostalgia or romance.
- Protect privacy: Need to hide someone’s face, license plate, or sensitive information? Blurring gets the job done.
No matter your reason, knowing how to properly blur image makes your edits cleaner, more polished, and easier on the eyes.
Step-by-Step: How to Blur an Image Easily
Let’s break it down. Here’s a simple, user-friendly way to blur images in most modern photo editing tools:
1. Upload or Open Your Image
Whether you’re using an online editor or a mobile app, the first step is to upload your photo. Look for the edit or adjustment menu—this is where the magic begins.
2. Select the Blur Tool
Once your photo is open, tap or click on your desired image, and the image Adjustments menu will appear. Choose the Blur option to add a blur effect.
Use the sliding scale to control the intensity of the blur. Want a subtle touch? Keep the slider low. Need a strong blur for background distractions? Crank it up.
For precision lovers: you can also type in a numerical blur value. This is helpful if you’re editing multiple photos and want a consistent blur level across all of them.
3. Blur Specific Areas Only
You don’t have to blur the whole photo. Most tools allow you to use a brush or selection tool to apply blur to just one area. This is great for portrait shots where you want the face to pop and the background to fade away.
Create a Blurred Background Effect
Here’s one cool trick that makes your subject stand out like it’s been shot on a DSLR camera.
- First, duplicate your image.
- Then, select the image behind it and apply the Blur effect to that layer only.
- Adjust the top (cropped or cut-out) image so it aligns perfectly over the blurred background.
Just like that, you’ve created a custom blur image effect that focuses all attention on your subject. No fancy equipment required.
Pro Tips for Blurring Like a Creative Genius
- Use blur to fix bad lighting: If part of your photo is grainy or poorly lit, a soft blur can smooth it out without ruining the image.
- Go soft on portraits: A little face blur (not too much!) can smooth skin naturally without that plastic look.
- Match your blur: If you’re combining photos or graphics, matching the blur levels can make your design feel cohesive.
- Be subtle: A good blur image effect is often one people don’t even notice—it just feels better.
When Not to Use Blur
As fun and easy as it is, blur can also go wrong if overused. Avoid these mistakes:
- Please don’t overdo it: Too much blur can make your image look like a smudge instead of a style.
- Watch your edges: If you’re blurring part of an image, make sure it blends naturally into the unblurred areas.
- Be careful with text: Blur and text don’t mix. If you’re adding labels or captions, keep them crisp and clean.
Final Thoughts
Blurring isn’t just about making things fuzzy—it’s about focus, tone, and storytelling. Once you get the hang of it, you’ll find yourself reaching for the blur image tool more often than you expect.
So whether you’re touching up vacation memories, designing a blog header, or creating a professional portfolio—take the time to experiment. Slide that blur scale. Adjust it. Compare before and after.
It’s not just editing—it’s visual storytelling made simple.
And hey, if you mess up? Hit undo. The beauty of digital editing is that every image is a playground for your creativity.